If there’s one thing all PR and marketing professionals can agree on, it’s that time management is a serious challenge. Juggling multiple projects and constant reports, while also catching up on everyday operational tasks can get overwhelming. The solution? Optimizing your workflow.
One of the best ways of alleviating stress is by leveraging the right tools that automate daily (and often mundane) duties and hence eliminate any need for repetitive manual work, leaving you with more time to focus on things that make the greatest impact.
Being a Determ user, you’re no stranger to automation. The tool makes monitoring, analyzing, and data reporting a breeze, thus saving weeks and even months’ worth of time. But, we wanted to add even more hours to your day.
As a result, we developed Automated actions, a new feature that automates tagging and changing the sentiment of your mentions, thus making the process completely effortless.
In this blog, we’ll explain everything you need to know about Automated actions, the benefits along with examples of use, and finally, go through the setup process step by step, so you too can get the most out of your data. Let’s start!
What are Automated Actions?
Automated Actions are basically a simple set of rules you can use to automate the process of assigning tags and sentiment to your mentions. Rather than browsing through your mentions and manually adding a tag and/or changing the sentiment, the tool will now automatically do it for you.
Setting up Automated actions is incredibly simple and consists of three steps.
- Enter keywords, authors, or websites that will trigger an Automated action.
- Define which action will be triggered: adding a tag, setting a sentiment, or both.
- Apply to selected feed(s) or globally for your organization.
Creating an Automated action takes only a few moments and after that, all your work is done.
To demonstrate how the new feature works, we created an Automated action to automatically tag any mention of our Determ topic in the context of online reviews.
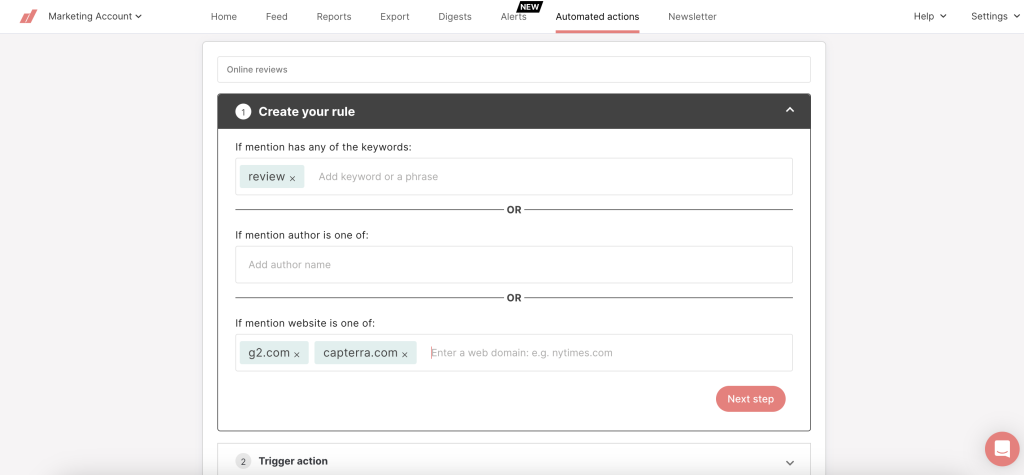
More specifically, we set the tool to automatically assign a ‘review’ tag to any mention containing the keyword ‘review’ or coming from popular review websites G2 Crowd or Capterra. Now, anytime someone reviews our tool on the aforementioned websites or anywhere else, we’ll have all of those mentions categorized under the ‘review’ tag.
The Automated actions feature is also extremely convenient when you deal with a large number of mentions or simply don’t have the time to skim through all of them on a daily basis.
Benefits of using Automated actions
Completely automating your media monitoring workflow will save you precious time and allow you to focus on more important tasks at hand. But, there are much greater benefits of using Automated actions than simply more efficient time management, and those include even more advanced data analytics.
With Automated actions, you can:
- Focus on a topic inside your global feed
- Get deeper insights by analyzing mentions by tags and sentiment
- Implement the PESO model
Focus on a topic inside your global feed
As mentioned above, Automated actions work in a way that enables you to assign a tag or sentiment whenever a certain keyword, author, or website appears alongside your mentions, without the need to create new, dedicated topics.
The new Automated actions feature is great when you want to:
- Simply automate categorizing (large amounts of) mentions by tags,
- Focus on an unexpected circumstance or a newly-arisen important topic among your existing feed mentions.
For instance, the recent coronavirus pandemic was a situation that no one could have foreseen (except maybe Bill Gates), as opposed to easily anticipating a crisis or analyzing competitors’ moves that might affect your own business with the help of media monitoring.
If a circumstance such as this one occurs and you consistently monitor online conversations and topics relevant to your business, you can promptly set up an Automated action and have all the relevant information at your disposal in just a few moments. The added benefit is, you don’t need to use up additional topics in your Determ plan.
Get deeper insights by analyzing mentions by tags and sentiment
Probably the greatest benefit of using Automated actions is the ability to gain even deeper insights into your mentions. By automatically applying certain tags and sentiment, you also enable generating completely new sets of data.
In other words, you can create tag and sentiment powered custom charts that can provide a substantial competitive advantage, since they are so unique and specific to your own brand.
So, to showcase the value of the aforementioned custom analytics, we took Starbucks as an example and tracked only the brand itself to demonstrate how tags and sentiment can be used as an invaluable data source.
Based on the Automated actions we set up, we created a custom dashboard and custom charts powered by tags of currently popular Starbucks-related topics such as COVID-19, baristas, drive-though, delivery via Uber Eats, and the Pink Drink.

The Tags chart is a pie chart that is based on the share of voice between our tags. This can be a great indicator of how represented a certain topic is among all your mentions, while the increase of its share might encourage you to evaluate if its a topic of growing importance for your brand.

The Tags by source is a visual representation of how talked about each of the tags is across various sources. This information can be used to better understand which channels your audience uses when discussing a certain topic, as well as to target content related to those topics based on your audience’s preferences.

If you wanted to measure the sentiment specifically for a certain tag, you could do that as well. Above is the example of the sentiment for the tag ‘Uber’, referring to the Uber Eats delivery option. As we can see, the sentiment is predominantly positive.
Custom charts are interactive, just like the predefined ones in Determ. By clicking on any part of it, the tool will show additional relevant information regarding the chart in question.
In this particular case, if Starbucks wanted to further inspect the negative sentiment, for instance, they might find the exact reasons for users’ dissatisfaction with the service by clicking on the Negative section of the chart, which would prompt opening a list of all negative comments and mentions online.
These are just some of the examples of how Automated actions can enrich your data analytics and provide unique insights via custom charts that can be easily recreated.
Now that you know what Automated actions are and how beneficial they can be for a business, let’s go through the process of setting up an Automated Action step-by-step.
How to set up Automated Actions
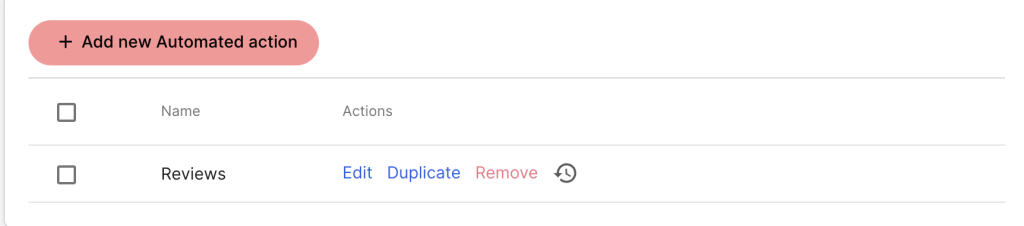
Setting up Automated Actions is a very straightforward and simple process that should take no longer than a minute or two. To start, look for the new Automated actions button in your toolbar, next to the Alerts.
This is where you can add new Automated actions and see a list of ones you created.
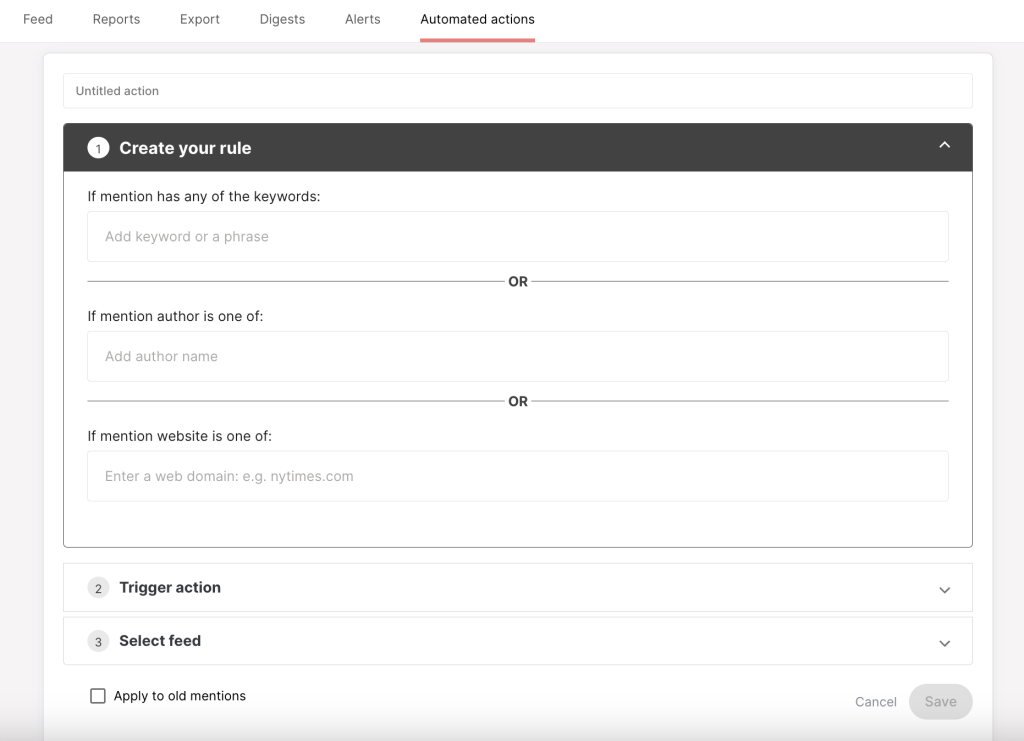
Now it’s time to click on the green Add Automated action button. This will prompt a dialogue box to open up and start the setup process.
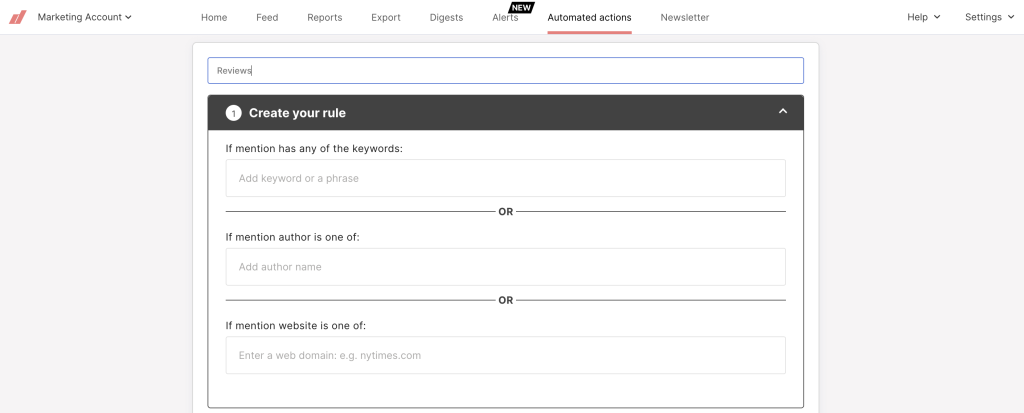
At the very top of the dialogue box is the title field. The title is simply a label that helps you easily navigate your Automated actions. By default, every Automated action is untitled. To customize it, click on the title field and enter the title of your choice.
We recommend it to be something that resonates with the goal of an action you are about to set up. If you, for instance, track online feedback about your product or service and wanted to focus specifically on online reviews, you could set an Automated action titled ‘Reviews’.
Let’s move on to the first step of setting up your Automated action – creating rules.
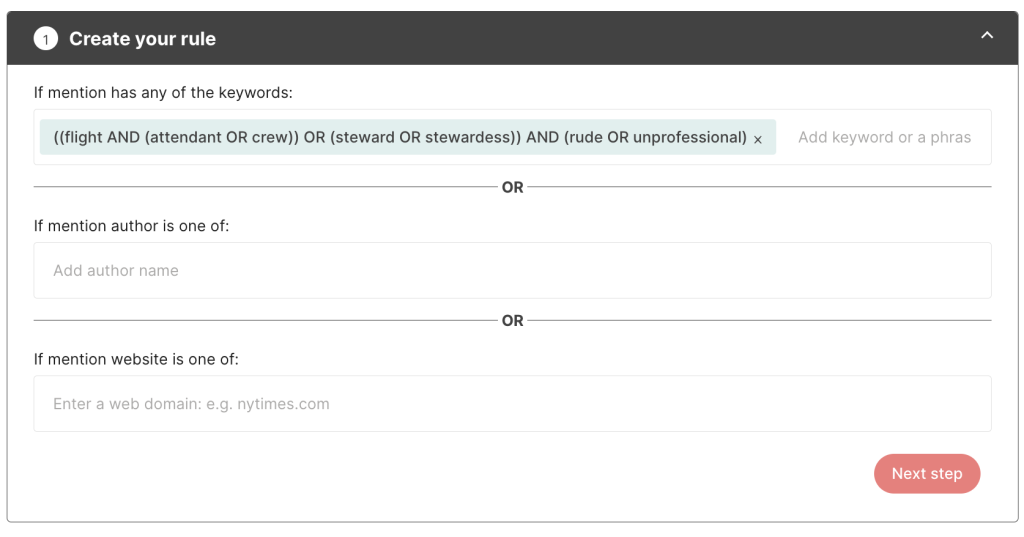
#1 Set rules
To create an Automated action, you firstly need to define a certain rule (or a few of them). By doing so, you basically tell the tool which criteria a mention needs to meet in order to apply a tag or sentiment of your choice.
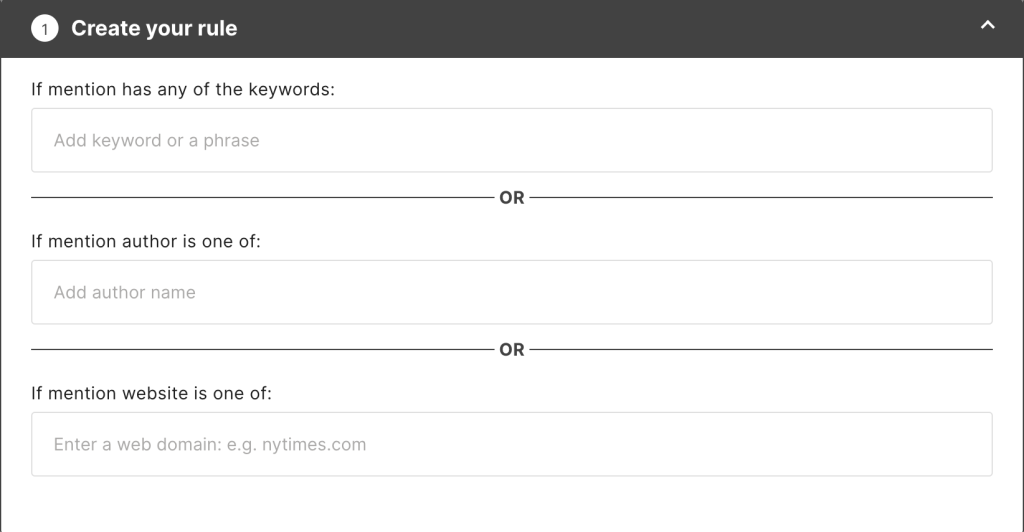
There are three options to add:
- A keyword or a phrase
- An author
- A website.
Please note that the mention author refers to the name of a specific social media or profile, not its handle. Hence, when entering an author, you would simply type in ‘Determ’, for example, and not ‘@determ’.
You can set multiple options simultaneously and add more than one keyword, author, and website for the same rule. As a result, any of the terms you entered will trigger a set action, which we’ll cover in detail in the next step of this process.
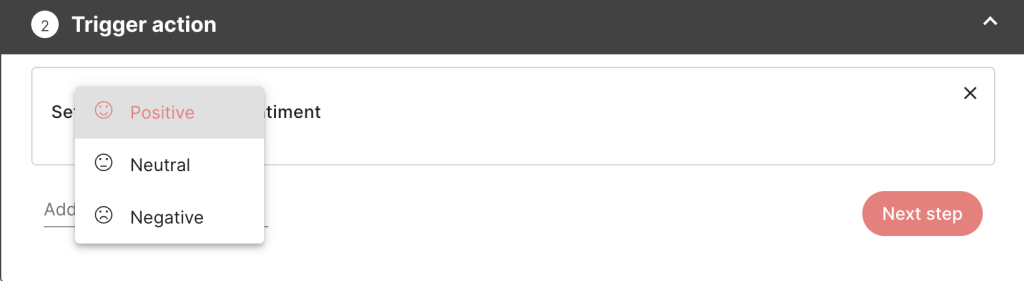
#2 Trigger action(s)
As we already mentioned, there are two options that can be automated: tagging a mention and setting a certain sentiment. We call them Trigger actions since they will only be applied if the criteria you set in the first step are met.
You can choose to trigger just one, or both actions at the same time, depending on your goals. To do so, click on the Add action and select your desired trigger in the dropdown menu.

By selecting Set sentiment, you can further choose between positive, negative, and neutral.
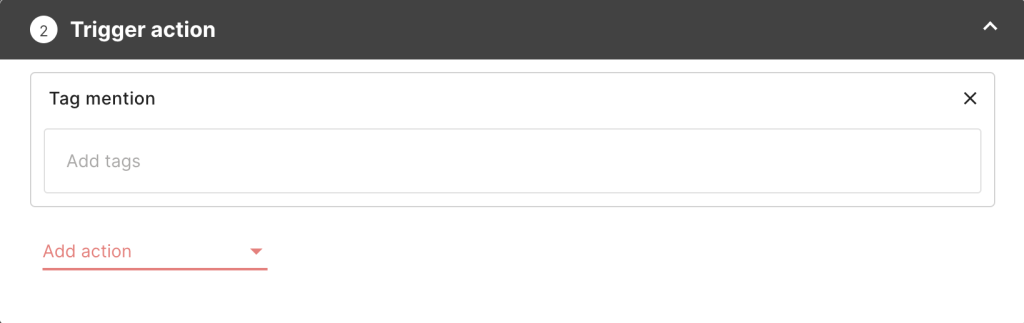
When it comes to the Tag mention option, you can add preexisting tags or create new ones.
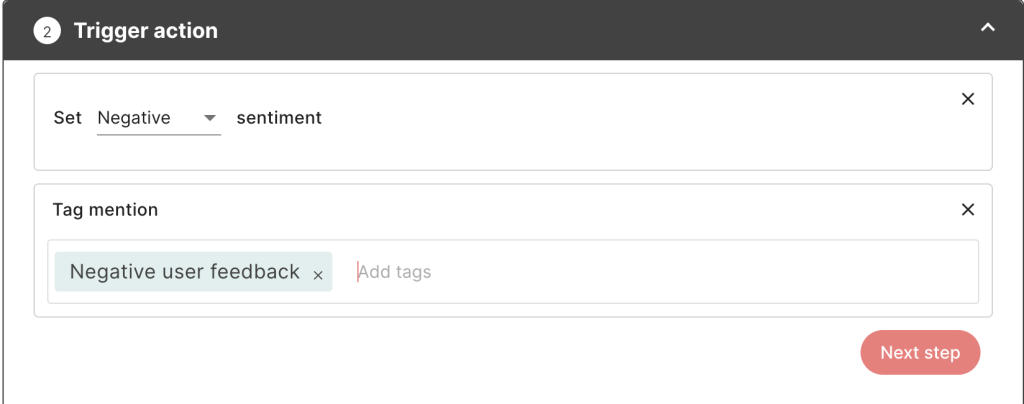
If we were to track online feedback on our product or service and wanted to focus only on the negative feedback, we could set the tool to assign both a negative sentiment and a ‘Negative user feedback’ tag to those mentions.
Now, on to the third step!
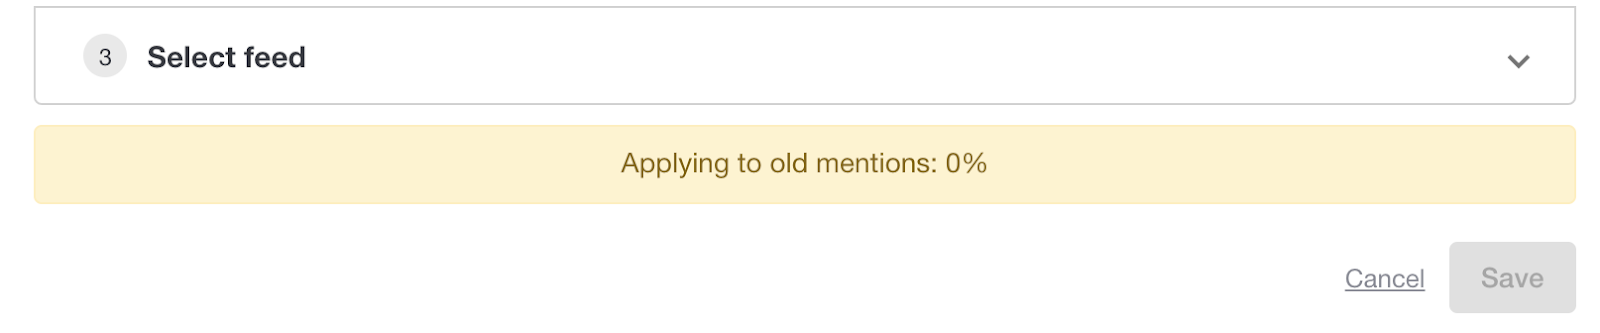
#3 Select feed
After you’ve decided on the rules and trigger actions, it’s time to apply them to the selected feed(s) or globally for your organization.
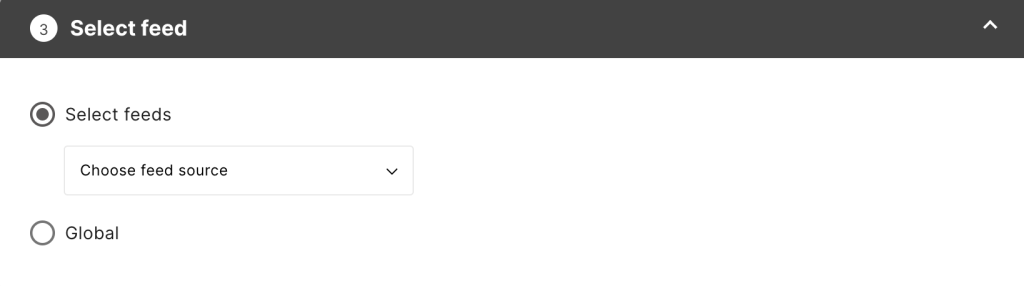
Selecting a specific feed source (or a number of them) means you can choose from any existing topic or folder in your account.
On the other hand, the Global option allows you to apply the Automated action for all present topics across your feed, as well as all future topics you add. Basically, this option covers everything you track and will automatically be applied to any new topic.
Finally, there is the option to Apply to old mentions.
Apply to old mentions
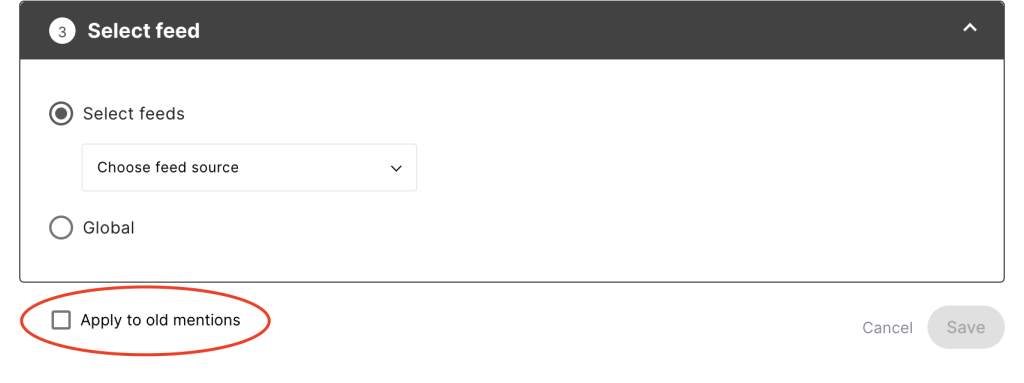
By default, an Automated action will apply to new mentions only, starting from the point of its creation. If you want to apply it to the mentions gathered prior to that point as well, make sure to check the Apply to old mentions box.
When that process is in progress, you’ll see a clock icon next to the newly created Automated action.
If you hover your mouse over the clock icon, you’ll see a percentage of old mentions processed.
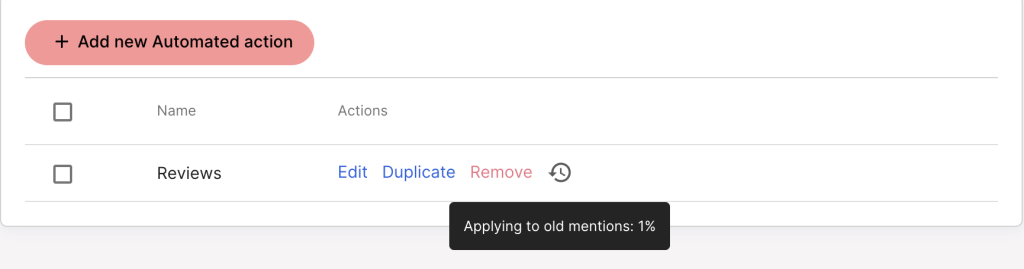
There is no time or mention limit to the retroactive application of Automated actions, but the length of the process will depend on the amount of data in your feed. When it’s done, the icon will simply diminish.
If you decide to edit the Automated action you applied, you’ll see the indicator at the bottom of your screen, below the Automated action in question. During that time, you won’t be able to reedit the Automated action, but you can delete it.
Important things to note:
- Deleting an automated action does not remove tags or sentiment from mentions.
- An Automated action can’t be edited while it’s being applied to old mentions.
- There is no undo button – you will need to manually untag mentions.
To sum it all up
Automated actions are an amazing feature that not only saves time but also comes with a plethora of benefits in regard to valuable data insights. From custom charts to unique data sets, you can create your very own and personalized analytics to gain an edge over your competitors.
We hope that you find them useful and, as always, if you have any questions or need assistance setting up your Automated actions, don’t hesitate to reach out via the tool chat, email, or social media!